calabrian fried chicken tenders with ho-made ranch
There may be some people who find it natural to whip up a quick foccacia or whatever, but fried chicken isn’t something anyone attempts casually. It makes your hands gross and your stove oily as hell and can easily bought somewhere and carried home in a greasy paper bag without suffering any of these consequences. What point am I really trying to prove by ho-making fried chicken?
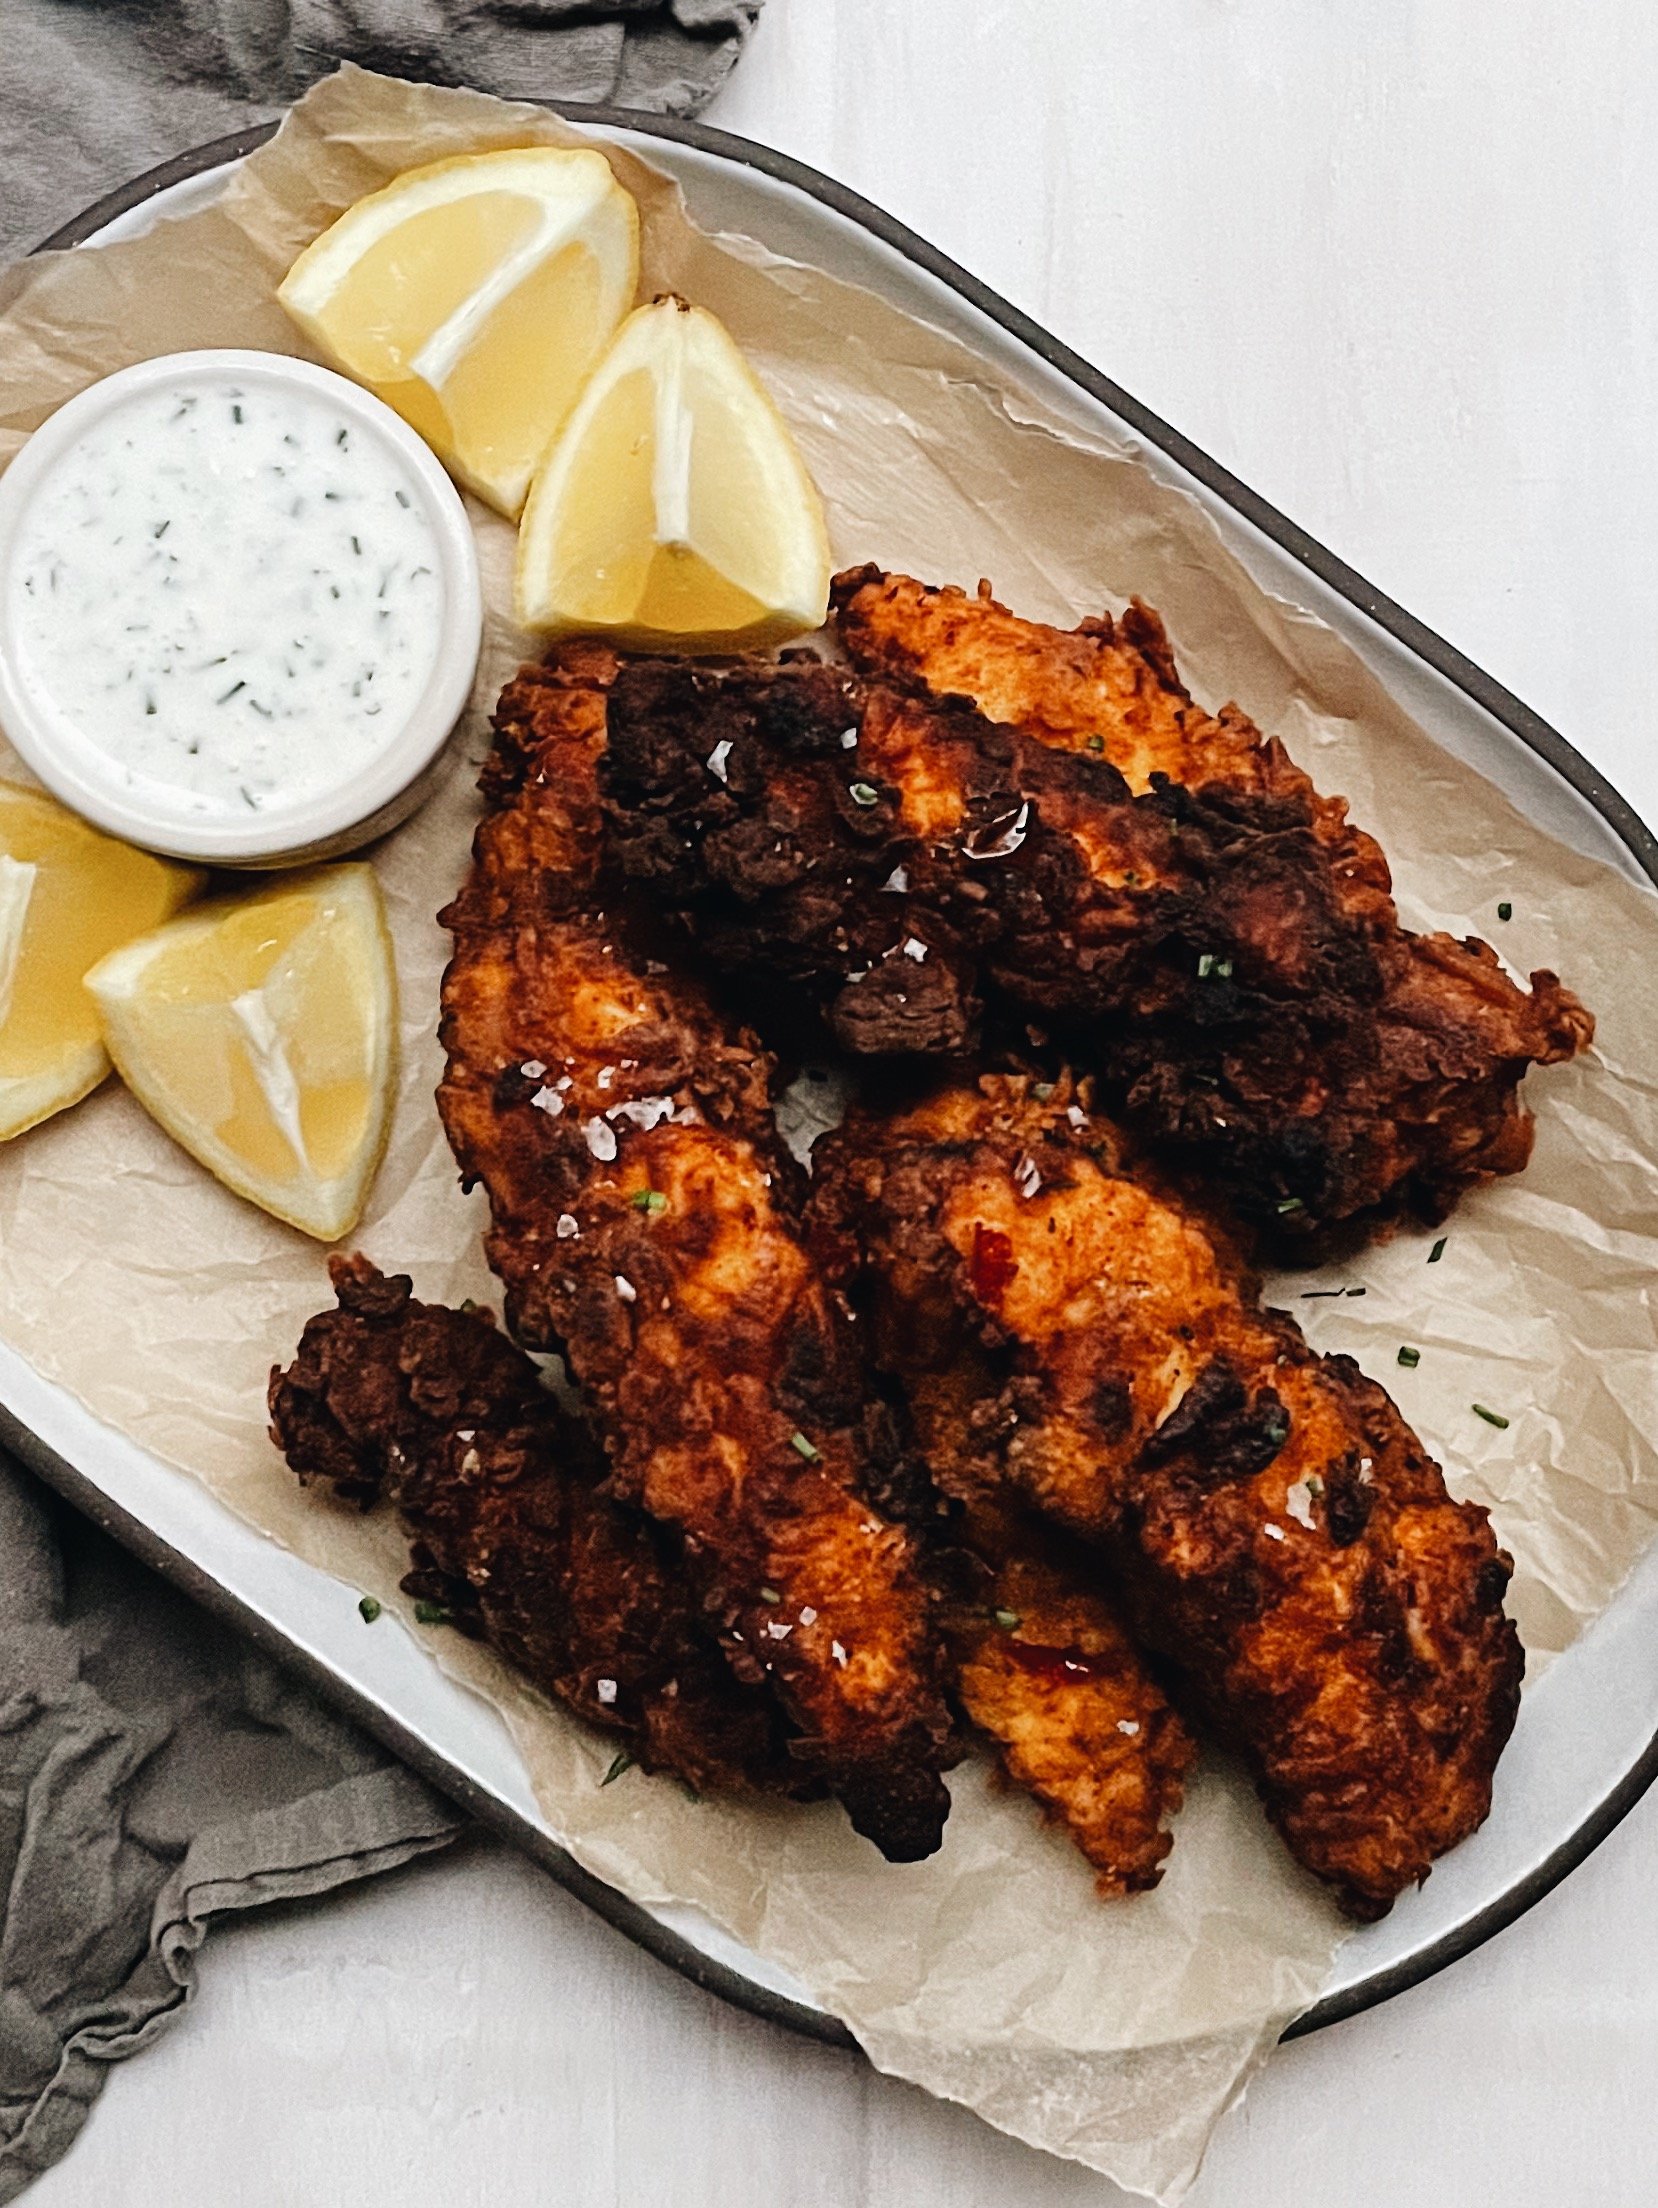
Unfortunately there is a specific kind of fried chicken I have been mourning for years after my favorite pizza place closed down, and it happened to be fried chicken tenders. But not in a kids-menu-at-the-TGI-Fridays kind of way: these tenders were spicy but not in the same way hot chicken is, lightly breaded and deeply browned, served in a paper box with little lemon wedges and some kind of garlicky homemade ranch. Unfortunately the only way to get them now is to make them, so I’ve been experimenting with how to recreate these bad lil tendy boys and am pleased to announce that I think this is the way! (If you formerly were on staff at Pizza Romana, please contact me if you see this.)
the process
I call this Calabrian chicken for two reasons: 1, it was a pretty authentic Italian place serving chicken tenders so they had to be Italian in some capacity, and 2, this pizza place had several pizzas with Calabrian chiles on the menu, so I can only assume they had chile oil leftover that they were using to fry them. That said, the place was not called Pizza Calabria, so I’m admittedly doing the best with the inputs I have.
Achieving a crispy, spicy Calabrian tendy is a multi-step process. Here’s how it works:
The marinade has cayenne and paprika for heat, Italian herbs for flavor, and buttermilk, olive oil, and lemon to help keep the chicken tendies tender when fried. While olive oil and lemon are the weirder two of the ingredients, I am positive the original version had them because I asked.
The breading itself also has cayenne and paprika, only a lot more of it. This gets mixed with a small amount of buttermilk until it forms flaky clumps, and is then “glued” to the chicken as you roll the tenders around in the breading. We’ll get to how to make this less of a pain later.
The frying oil is a mixture of whatever cheap burner oil you have (I used a giant jug of Kirkland grapeseed oil) swirled with Calabrian chile oil. Those of you who spend time here already know that jarred Calabrian chiles in oil are a staple in a lot of my southern Italian recipes, but you know what? This is the REAL reason why we keep those around—adding a big spoonful to your fryer oil will give the chicken a deep dark hot crunchy color without overcooking. You also get crispy bonus peppers that sometimes show up on your chicken.
what about the rest?
The chicken itself can be tenders, or breasts that you slice up. The tenders at my store are trimmed, which is what you want. Untrimmed tenders, weirdly, have a … tendon thing that is tough and nasty and you don’t want it. If you see that, go for breasts and slice them.
The ranch-ish dressing is light on mayo, extra lemon, LOTS of herbs. Here I used fresh chives and dill because I needed something to do with them, but dried is also an option. I use Greek yogurt because I find it texturally superior to sour cream and also because I unfailingly remember to buy Greek yogurt each week even when I’m not thinking about it. Note that this recipe (probably; I know there are some ranch monsters out there and I’m here for you) makes more ranch than you need, but because it’s on the thinner side vs the thicker dip-ier side, it’s great to save and use on salads. If you start with fresh buttermilk, yogurt, etc, it will keep for about 2 weeks in the fridge.
some tips for fried chicken aspirers
Some recipes have nice results for low effort, but this is not one of them. However, this high-effort high-reward recipe embodies the Childbirth Effect™, where the pain of the labor instantly disappears once you behold the majesty of what you have created. (Note: I’ve never given birth.)
However, having experimented with this recipe a few times, there ARE some ways to make frying chicken a little less of a pain in the ass, which directly leads to more moments in your life that you can be eating fried chicken.
Reducing hand and counter mess. I strongly recommend using a nonstick sheet pan as a breading tray: it makes it easy to stir the breading around in a thin layer, and gives you a solid rim around your work surface that keeps everything contained. It’s also easy to wash after. If you happen to have them from the early COVID era of dying your own hair over the sink, you can wear food-handling gloves: the mixture is sticky and a pain in the ass to wash off, especially if you are someone who wears a lot of rings, has bracelets on, or keeps their nails long, all of which I do. Ask me how much time I spent on my first run-through digging breading out of places where it does not belong!
Frying at the correct temperature without a thermometer. I do not imagine most people have deep-fry thermometers at their house, but if you do, this is easier: you need the oil consistently at 325°. However, fryer oil is notoriously obnoxious even if you know how hot it is, for one major reason: adding cold food chills the oil really quickly, meaning your tenders will sort of sit there turning sad and yellow and won’t brown evenly even though they’re cooked. There are two ways around this. One is to let your chicken come up to room temperature before you fry it, which shocks the oil less and doesn’t require as much calibration of the heat. The second is to start with the oil much higher, use the chicken itself to drop the oil’s temperature and lower it after you flip your first batch of chicken because by then it will be hot again. This recipe was made without a thermometer to try and mirror what most cooks would probably do, but if you DO have a thermometer, you’ll want to continue to calibrate the heat so the oil is always at 325°F.
Reducing stove mess. My mom used to line her entire stove with Reynolds Wrap to protect it from Sauce Day. Turns out, that works great for frying, too. Put it over your unused burners and the front rim of your cooktop, and your stove will be virtually clean afterwards. Is this wasteful? Yes. But the sun is going to explode one day and everything is a trade off and the planet is pretty much screwed with or without your fried chicken shield. Fryer oil is VERY difficult to fully remove from anything you can’t put in the sink, so you make the call if it’s worth it to you.
Grab a fry partner. This recipe is just, frankly, a pain in the ass to do by yourself. With a second pair of hands, though, it’s easy. One of you breads, one of you fries. The person frying can cook all the chicken as it’s being breaded, leaving the other to be able to make the ranch and clean up in time to eat. It is maybe not the sexiest kind of couple’s cooking, but you know what? For somebody out there, hovering over a vat of hot oil is getting the mood started off right, and like traveling long-haul through tiny European airports or building IKEA furniture, it’s a good test of a relationship if you can successfully fry together.

recipe
Inspired by Pizza Romana in Los Angeles (RIP), these chicken tenders are crispy, crunchy, and a little bit spicy, fried in Calabrian chile oil for extra heat and served with homemade ranch and lemon wedges.
Effortful time: 45 minutes
Total time: 45 minutes (sorry)
Depending on the size of your tenders, this nets about 12 tendies; unless you are a ranch monster you will likely have ranch leftover, so save it!
you need
For the chicken + marinade
1 1/2 lbs. boneless, skinless chicken tenders (or breasts cut into tender-like strips)
2 tbsp. extra-virgin olive oil
1 cup buttermilk
Juice of 1/2 lemon (save the other half for the ranch)
1 1/2 tsp. salt
1/4 tsp. each cayenne pepper, paprika, garlic powder, and oregano
For the breading
2 cups all-purpose flour
1 1/2 tsp. baking powder
1 tsp. each salt, cayenne and paprika
1/2 tsp. each of garlic powder and oregano
Fresh black pepper, to taste
3 tbsp. of buttermilk
For the ranch
1/2 cup full-fat Greek yogurt (you can use sour cream if you like it better)
2 tbsp. mayo; I used Kewpie as it’s milder
1/2 cup buttermilk
1 tbsp. chopped fresh dill
1 tbsp. chopped fresh chives (save a few for garnish)
1 garlic clove, grated on a microplane
2 tsp. fresh lemon juice
1/2 tsp. salt
For frying
4 cups of neutral high-heat oil, like grapeseed or canola
3 tbsp. Calabrian chili oil
For serving
Reserved fresh chives
Lemon wedges
make it
Marinade your chicken. Add all the ingredients on the “chicken and marinade” list to a bag or bowl. Massage (if it’s a bag) or stir (if it’s a bowl) to fully cover the chicken. Let this sit at room temperature no more than 25-30 minutes.
While the marinade does its thing, prep your breading station. In a quarter sheet pan, mix all the ingredients on the “breading” list except the buttermilk together with a fork. Fully combined, the flour will be sort of pink thanks to the cayenne and paprika. Then pour in 3 tbsp. of buttermilk and mix with your hands, which will form big, dry flakes. You do NOT want this breading to be wet. If you go too hard with the liquid, which I did in early trials of this recipe, add more flour until it is clumpy but fairly dry. Put a plate or a piece of foil next in between your breading station and your stove.
Make your ranch. You’ll still have time while the chicken marinades, so stir all the ranch ingredients together in a bowl. It should be a drizzly consistency; it is not designed to be thick like packet ranch. Set that aside.
Heat your oil. Use a wide, high-sided pot. Pour in the oil, which should be just enough to completely submerge one whole side of the chicken at a time. You don’t need the pieces to be fully under oil because we will turn them halfway through. Add the calabrian chili oil, which will immediately give a red color to the oil. Gently bring it up to temperature over medium heat until it either reaches 325° on a deep-fry thermometer (correct way) or until a piece of breading you flick into it immediately starts to sizzle (realistic way for most human beings).
Prepare your finishing area by lining a quarter sheet pan or plate with 2 layers of paper towels, or by setting a wire rack over the sheet pan if you have one; this is where we’ll drain the chicken after it fries.
Bread the chicken. Remove each piece of chicken from the marinade and roll it around in the breading tray. The big flakes won’t stick on their own; you’ll have to pat them into the chicken by hand. These are the parts that fry into shattering crispy pieces once cooked, so trust me, it’s worth the effort. Continue rolling and patting until the tendies are completely covered in flour and breading clumps, and put them onto a plate to await their fate. Repeat until all the chicken is breaded.
Fry the chicken. If you’re a two person team, the Fry Cook can start as soon as 3-4 pieces have been breaded; otherwise, finish breading the chicken first before you fry. Using tongs, very gently move a few (don’t overcrowd them!) pieces of chicken into the fryer oil, being careful not to let them drop too hard or they’ll splatter. This will lower the oil temperature considerably, so crank it before showtime unless you’re using a thermometer. Now watch closely. Let these sizzle for 4 minutes, then turn over: you should have shatteringly crisp, golden brown chicken. If you don’t, raise the heat and let it continue another minute more.
Flip the chicken. At this point you can return your heat to medium. Let cook 4 minutes more.
Remove the chicken and start your next batch! Use your tongs to move the chicken onto your paper towel / wire rack sheet pan station. The internal temp of the chicken should be 165° or a little higher. Repeat with the remaining batches. For 12 tenders, expect three batches.
Finish and serve. Throw some fresh chives on there and serve with lemon wedges.